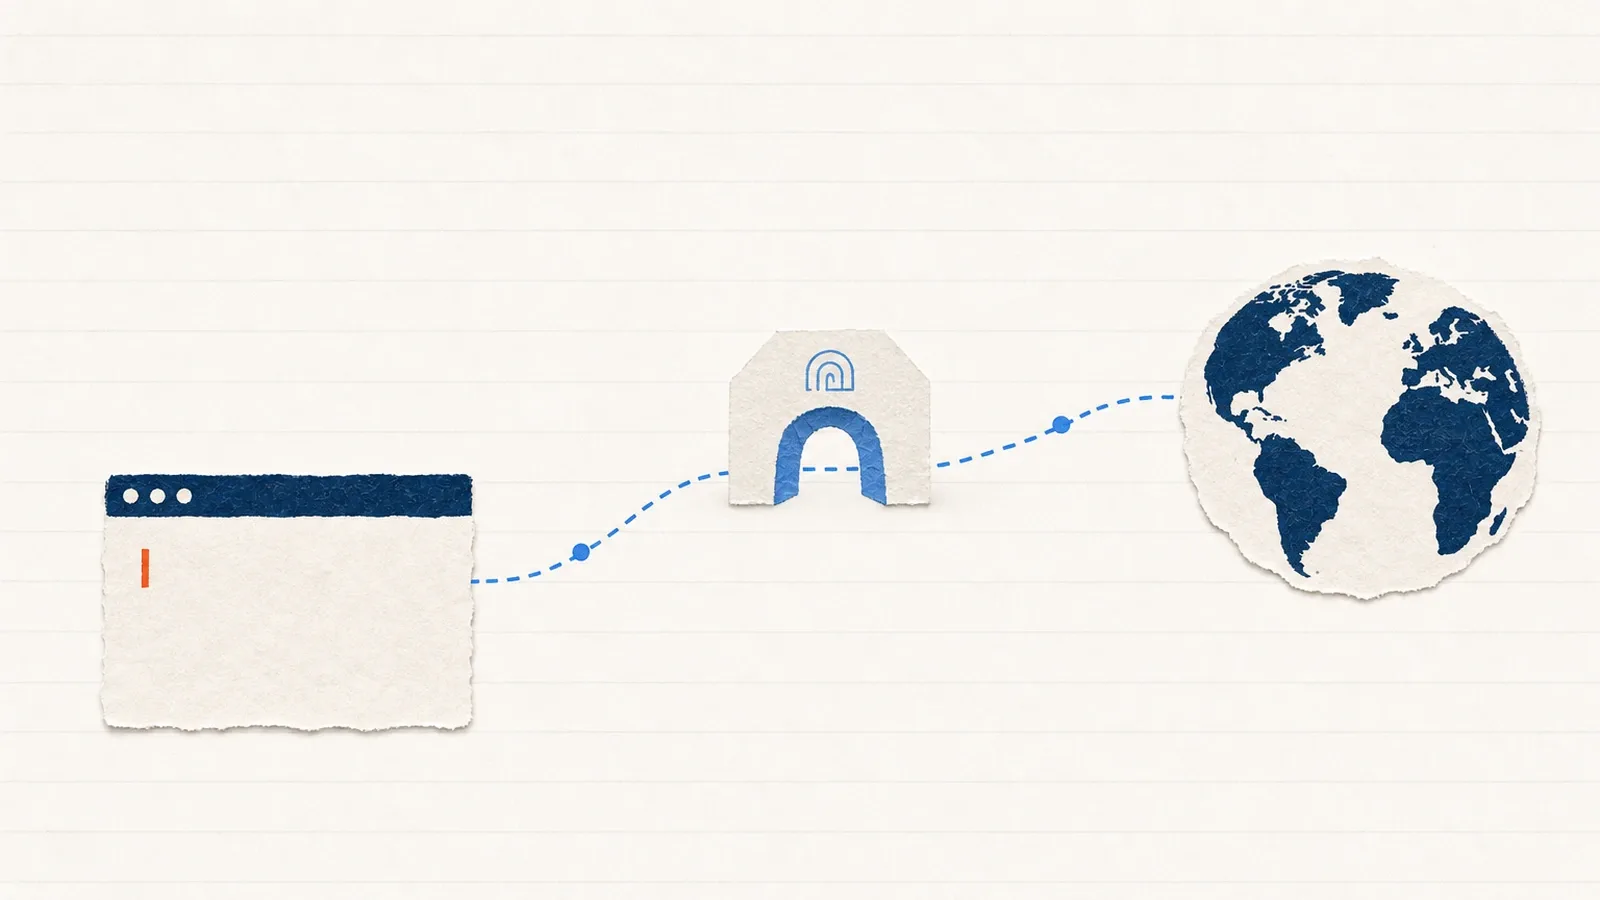
为什么需要在命令行中使用代理
之前趁着活动,以较低的价格买了几台某云在内地机房的服务器。但问题也就来了:在 Docker 拉取镜像或者 GitHub 同步仓库时总会出现连接超时。
虽然也可以通过换源来解决,但换源你就得考虑:
- Docker
- GitHub
- Yum Repo
- npm
- pip
- ……
考虑到这么多乱七八糟的东西,还得在不同的服务器上分别配置,更别说一些软件的安装需要 wget 直接下载,并且需要承担某些源的版本不一致的问题——例如某些仓库的 latest 不能及时同步,有时候反而会带来更多麻烦。
想起来就头大。不如直接一步到位配置好代理。
为什么采用 Clash
截止写本文时,Clash 系列的开源仓库刚好都删库跑路了,虽然有一定的监管风险,但:
- 目的是为了方便开发,不是对抗
- Clash 的使用体验确实非常好——支持规则分流、订阅链接、Dashboard UI
因此仍然推荐 Clash 系列生态和配置方法。
号外:为什么不用自建机场
自建机场常见方案是通过 XRay 实现。虽然过程有点意思,但:
- 性能一般——单点带宽和延迟远不如商业机场
- 安全性并不比机场高——就算自建,也是走同样的服务器,而且你自己维护的隧道其实更容易暴露
- 精力成本高——机场花几十块钱一个月,能省下大量维护时间
对于普通的开发机来说,没有这么高的安全需求。最简单的办法就是做一个守法公民合法使用。
安装步骤
1. 下载安装 Clash
# 安装最新的 Clash for Linux
# 最新版本页面:https://github.com/Dreamacro/clash/releases
cd /usr/local
wget https://github.com/Dreamacro/clash/releases/download/v1.11.12/clash-linux-amd64-v1.11.12.gz

# 解压
gzip -d clash-linux-amd64-v1.11.12.gz

# 重命名
mv clash-linux-amd64-v1.11.12 clash

# 添加执行权限
chmod u+x clash
2. 安装 Country.mmdb
安装一个规则库文件:
mkdir -p /root/.config/clash
cd /root/.config/clash
wget https://github.com/Dreamacro/maxmind-geoip/releases/download/20220612/Country.mmdb
3. 编写配置文件
之所以喜欢用 Clash,就是因为它可以导入机场的订阅链接,可以随着机场的节点变化自动更新节点信息。UI 界面上可以进行配置,但我们使用的是命令行,因此需要在配置文件中写入相关配置。
在目录 /root/.config/clash 下新建 config.yaml,写入配置信息:
# HTTP 代理端口
port: 7890

# SOCKS5 代理端口
socks-port: 7891

# Linux 和 macOS 的 redir 代理端口
redir-port: 7892

# 允许局域网连接
allow-lan: true

# 规则模式:Rule(规则) / Global(全局代理) / Direct(全局直连)
mode: rule

# 日志级别 (默认 silent,即不输出任何内容,以避免因日志过大导致内存溢出)
# 5 个级别:silent / info / warning / error / debug
log-level: silent

# Clash 的 RESTful API
external-controller: '0.0.0.0:9090'
secret: '12345678'
external-ui: /root/clash-dashboard需要在配置文件中写入机场的配置信息。样式可以从桌面版本 Clash 上复制,或者从机场官网查询如何解析订阅链接。DNS 部分配置示例:
dns:
  enable: true
  ipv6: false
  listen: 0.0.0.0:1234
  use-hosts: true
  default-nameserver:
    - 223.5.5.5
    - 119.29.29.29
  nameserver:
    - https://dns.alidns.com/dns-query
    - https://doh.pub/dns-query
  fake-ip-range: 198.18.0.1/16
  fake-ip-filter:
    - '*.lan'
    - localhost.ptlogin2.qq.com
    - '*.msftconnecttest.com'
    - '*.msftncsi.com'
4. 外部 UI
先不要启动 Clash——因为我们在配置文件中写了 external-ui: /root/clash-dashboard,意味着给 Clash 增加了一个外部 UI 地址。如果这时候直接启动会报错。
配置外部 UI 的目的:在使用时能够切换节点和规则,但不想通过”修改配置文件 → 重启”这种方式。最好像桌面系统一样,通过界面进行交互。
cd /root
git clone https://github.com/Dreamacro/clash-dashboard.git
cd clash-dashboard
git checkout -b gh-pages origin/gh-pages
通过访问 http://主机 IP:9090/ui,填入主机 IP 和配置文件中的密码(即 12345678)即可。注意主机要开启 9090 端口,否则无法访问。
5. 启动 Clash
# 开启 Clash
cd /usr/local
./clash

# 正确运行的话,会看到类似结果:
# INFO[0000] Start initial compatible provider 🌏 国内媒体
# INFO[0000] Start initial compatible provider 🐟 漏网之鱼
# INFO[0000] Start initial compatible provider 📲 电报信息
# INFO[0000] HTTP proxy listening at: [::]:7890
# INFO[0000] RESTful API listening at: [::]:9090
# INFO[0000] SOCKS proxy listening at: [::]:7891

# 打开 http://主机 IP:9090/ui,选择想要的节点
新开终端窗口,设置 HTTP 代理:
export https_proxy=http://127.0.0.1:7890 \
       http_proxy=http://127.0.0.1:7890 \
       all_proxy=socks5://127.0.0.1:7891

# 测试
curl ifconfig.me
如果看到返回的 IP 是机场节点的 IP,而不是主机本身的 IP,那说明 Clash 运行正常。回到 Clash 运行的窗口,也会看到经过代理的流量信息。
取消代理:
unset http_proxy https_proxy all_proxy两种测试方式:
curl www.google.com(或者没有设https_proxy时用curl -x http://127.0.0.1:7890 www.google.com)curl ifconfig.me查看返回的 IP 地址是否是本机的 IP 地址
6. 开机启动配置
# 添加启动信息
sudo vi /etc/systemd/system/clash.service
写入:
[Unit]
Description=Clash daemon, A rule-based proxy in Go.

[Service]
Type=simple
User=root
ExecStart=/usr/local/clash -d /root/.config/clash/
Restart=on-failure

[Install]
WantedBy=multi-user.target
# 重新加载 systemctl daemon
sudo systemctl daemon-reload
# 启动 Clash
sudo systemctl start clash.service
# 设置开机自启动
sudo systemctl enable clash.service管理 Clash 的常用命令:
sudo systemctl start   clash.service   # 启动
sudo systemctl restart clash.service   # 重启
sudo systemctl status  clash.service   # 查看状态
sudo systemctl enable  clash           # 开机启动
sudo systemctl disable clash           # 禁用开机启动
sudo journalctl -xe                    # 查看日志
永久设置代理
为了不每次都手动 export,将代理信息写入 ~/.bashrc:
vi ~/.bashrc

# 追加这一行
export https_proxy=http://127.0.0.1:7890 \
       http_proxy=http://127.0.0.1:7890 \
       all_proxy=socks5://127.0.0.1:7890

source ~/.bashrc
如果需要临时取消代理,直接 unset http_proxy https_proxy all_proxy 即可,不影响后续 shell 加载。
小结
配完 Clash 后,docker pull、git clone、npm install、pip install、yum update 这一堆日常操作的超时问题一次性解决,不用再去到处找镜像源。一次配置,长期受益,是我在多台开发服务器上最省心的运维方案之一。